Best Sponge Filters for Shrimp Tanks
Updated August 2026
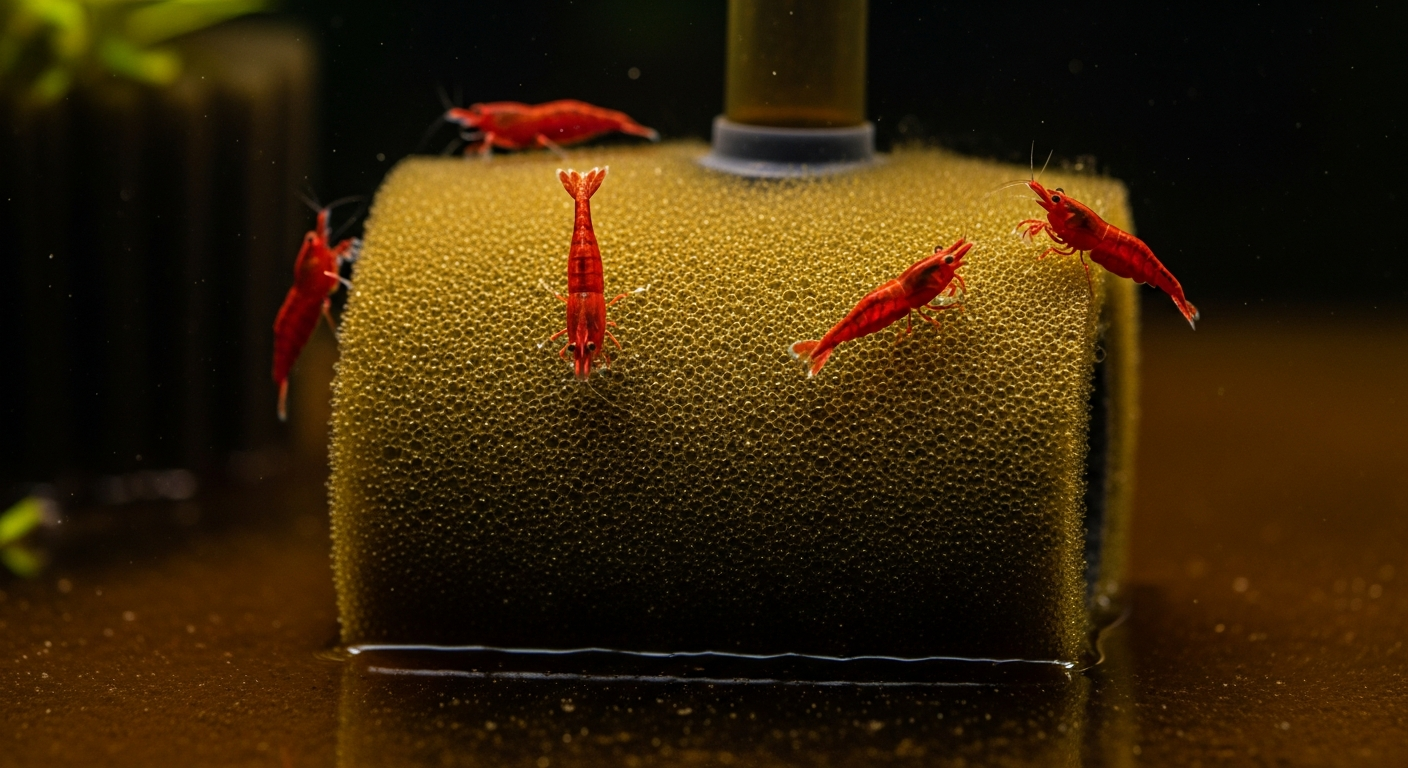
Shrimp tanks punish the wrong filter fast. A hang-on-back unit with an uncovered intake will pull in baby shrimp. A canister running at full flow will tumble juveniles across the substrate. A sponge filter avoids both problems entirely, and it does something no mechanical filter can: it grows a living surface that your shrimp will graze on around the clock.
This guide covers the four filtration setups that actually work for shrimp, how to size them, and what to look for before you buy anything.
Tannin Lab earns a commission on qualifying purchases through the Amazon links on this page, at no extra cost to you. Picks are chosen on performance and suitability, not on commission.
Why sponge filters are built for shrimp biology
The draw of a sponge filter is not just safety. The foam matrix creates an enormous surface area for nitrifying bacteria, specifically the Nitrosomonas and Nitrospira colonies that convert ammonia to nitrite and then to nitrate. A mature sponge filter in a 10-gallon tank can carry more beneficial bacteria per square inch than most canister media designed for tanks three times that size.
Beyond the biology, the biofilm layer that builds on the outer foam surface is a primary food source for shrimp. Neocaridina and Caridina species spend hours working across the sponge, picking off algae, microorganisms, and decomposing organic matter. If you keep Neocaridina shrimp in a planted setup, a well-seasoned sponge filter feeds the colony between scheduled feedings.
The suction issue deserves direct attention. Standard HOB and canister intakes pull water at a rate that creates a vortex strong enough to trap baby shrimp against the strainer. Shrimplets under 3mm do not survive that contact. A sponge filter eliminates the intake entirely; water passes through foam, not an opening.
Prices move, and stock does too. Each of these opens the product page on Amazon in a new tab.
The four filter configurations worth using
Not every sponge setup suits every tank. Here is what separates them.
A single-sponge filter is a single cylindrical or rectangular foam block attached to a lift tube, driven by air. These are the cheapest option and genuinely sufficient for shrimp-only tanks up to 10 gallons. The limitation is biological capacity when stocking density increases.
A dual-sponge filter runs two foam blocks on a shared uplift tube. More total surface area means more bacteria and a larger grazing surface. For tanks between 10 and 30 gallons with active breeding colonies, this is the default recommendation.
A matten filter is a sheet of Hamburg-grade foam cut to fit one full corner or wall of the tank. Water passes through the entire foam face and exits via a pump behind it. Matten filters are the gold standard for Caridina breeding tanks because the bacteria population is massive and the flow is distributed evenly across the whole face. Setup requires cutting foam to size and building or buying a pump housing, so it is a project tank modification, not a plug-and-play option.
A pre-filter sponge does not replace your existing HOB or canister. It is a foam sleeve that slides over the intake tube to block suction. If you already own a reliable canister or HOB and want to keep it, a pre-filter sponge makes it shrimp-safe for under five dollars. The tradeoff: the sponge itself is small, so the extra bacteria surface is minimal.
| Filter Type | Best Tank Size | Pros | Cons |
|---|---|---|---|
| Single sponge | 5 to 10 gallons | Inexpensive, quiet, easy to seed, zero intake risk | Limited bacteria capacity at higher stocking density |
| Dual sponge | 10 to 30 gallons | Higher biological load, two grazing surfaces, same footprint | Takes up more floor space in smaller tanks |
| Matten filter | 10 to 40+ gallons | Maximum bacteria surface, ideal for Caridina breeding, even flow distribution | Requires DIY setup, higher upfront effort, harder to clean |
| Pre-filter sponge on HOB/canister | Any size | Shrimp-safe conversion of existing filter, very cheap | Minimal added bacteria surface, foam needs frequent rinsing |
Sizing and air pump selection
Sponge filters run on air, not electricity directly. An air pump pushes air down an airline tube to the base of the lift tube, creating a current that draws water through the foam. Matching the pump output to your tank size matters more than most hobbyists realize.
For a 5 to 10 gallon shrimp tank, a pump rated 1 to 2 LPH (liters per hour) is enough. For a 10 to 20 gallon tank, use 3 to 5 LPH. Larger tanks or dual-sponge setups running two filters off one pump benefit from a pump in the 5 to 8 LPH range. Running too much air creates turbulence that shrimp actively avoid. Running too little leaves dead zones in the foam where anaerobic bacteria can establish.
Setup tip: airline and valve control
Connect your airline to a gang valve or a needle valve before it reaches the filter. This lets you fine-tune the bubble rate without replacing the pump. In a shrimp tank you want slow, steady bubbles rising from the lift tube; a fast rush of air creates surface agitation that drives off CO2 and unsettles shrimp in molt. Most hobbyists run at a rate that produces roughly one bubble per second. Use rigid airline tubing near any heated sections to prevent kinking, and soft silicone tubing at the bends. A check valve between the pump and the tank prevents back-siphon if the pump loses power.
The matten filter for serious Caridina breeding
If you keep Crystal Red, Crystal Black, or Taiwan Bee shrimp, the matten filter is worth the extra setup time. The biology argument is simple: more foam surface equals a more stable nitrogen cycle, and Caridina shrimp tolerate parameter swings poorly. A tank with a matten filter running for three months before adding shrimp is a fundamentally different environment than one with a small sponge filter cycled for three weeks.
Hamburg-grade foam (Hamburg Mat Filter, or HMF) is the material of choice. It runs between 30 and 45 ppi (pores per inch). Coarser foam allows sediment through; finer foam clogs faster and restricts flow. You can source it in sheets and cut it to fit your tank corner with scissors. A submersible pump or powerhead sits behind the foam panel and pulls water through it.
Before you commit to a matten setup, read the comparison breakdown in the Caridina vs Neocaridina guide to confirm whether your shrimp actually need that level of water stability. For most Neocaridina keepers, a dual sponge is the practical ceiling.
Adding a pre-filter to your existing HOB or canister
If you already run a canister or HOB and want to add shrimp without replacing the filter, a pre-filter sponge is the fastest path. Foam sleeves slip over standard intake sizes (most commonly 12mm or 16mm diameter), and the coarse foam stops shrimp from reaching the intake opening.
The foam needs rinsing in tank water every two to three weeks. Because the surface area is small relative to a dedicated sponge filter, it accumulates detritus quickly and loses flow if neglected. Check it during every water change. If you notice the flow rate from your HOB or canister dropping, the pre-filter sponge is usually the first suspect.
Pairing a pre-filter with a quality tank setup pays off across all your shrimp species. For a full look at what else belongs in the tank, the best nano tanks for shrimp guide covers substrate, hardscape, and volume considerations that affect which filter type makes the most sense.
Maintaining your sponge filter without crashing the cycle
The most common sponge filter mistake is cleaning it too thoroughly. The bacteria live inside the foam; blast it with tap water and you sterilize your biological filtration in a single maintenance session.
Always rinse the sponge in a bucket of water pulled directly from the tank during a water change. Squeeze it gently three or four times until the water runs visibly cleaner, then return it. That is the entire process. If you run a dual-sponge filter, clean only one sponge per session and leave the other untouched for two to three weeks. This preserves bacterial colonies across maintenance intervals.
How often you clean depends on stocking density and feeding habits. A lightly stocked 10-gallon tank with weekly spot cleaning may only need sponge maintenance every three to four weeks. A heavily bred colony with daily feeding schedules may need it every ten days. Watch the flow rate from the lift tube; noticeably reduced flow means the foam is restricting water passage and needs attention.
Frequently asked questions
How long does a sponge filter take to cycle?
A new sponge filter in a fish-less cycle typically reaches full nitrogen cycle maturity in four to six weeks. You can accelerate this by adding a small piece of mature sponge or a handful of substrate from an established tank. Ammonia should read 0 ppm and nitrite 0 ppm consistently before you add shrimp.
Can a sponge filter run without an air pump?
Not in the traditional sense. The airstone-and-lift-tube design requires air pressure to create flow. Some hobbyists attach a small powerhead to the lift tube outlet instead of using air, which works but eliminates the quiet operation that makes sponge filters appealing for bedroom tanks. The air pump version remains the standard for shrimp setups.
Is a sponge filter enough filtration for a breeding colony?
Yes, provided you size it correctly. A dual-sponge filter in a 10-gallon tank supports a breeding Neocaridina colony of 50 to 100 individuals without supplemental filtration, assuming regular water changes and moderate feeding. For Caridina species at the same density, a matten filter or two dual sponges provides better stability.
Marcus Chen
Aquarist & Founder, TanninLab
Marcus has been keeping planted tanks for 14 years. He tests every product recommendation in his own tanks and publishes the raw data.
Last updated: August 2026